Arnav Prasad
Practices robotics, mechanical design, programming, and educating.
Autonomous Driving Simulator: Unity and OpenCV
The Background
In Person
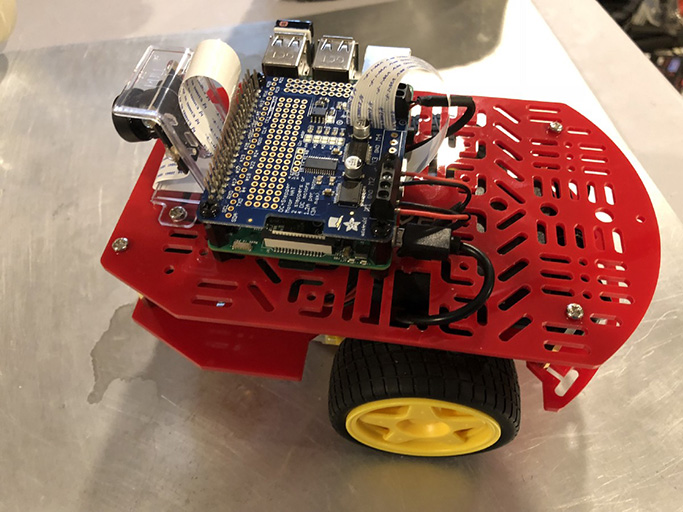
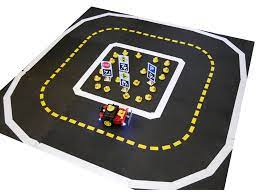
The University of Delaware Department of Mechanical Engineering frequently offers an elective in Autonomous Driving. The course is taught by Dr. Adam Wickenheiser. I was a student in this course my Junior year, when it was offered in-person. We used Duckiebots and the MIT Duckietown platform for our coursework. Duckiebots are miniature car platforms controlled by a Raspberry Pi. There are 2 DC motors (1 each for the left and right wheel) allowing for differential steering. Additionally, there is a Raspberry Pi Camera on board to capture a video feed to help control the vehicle. The robots were typically tasked with driving around a foam-tile road, with taped off lanes, while avoiding other vehicles.
Remote Learning
In the Spring of 2021, the course was being offered again. This time, however, the course would be fully remote. Simple, 2D simulations were created to drive a rectangular car around a track, so students could learn the basics of PID controllers for autonomous driving. While this was helpful, it deprived the students of the full autonomous-driving-car-controlling experience. While it wasn't feasible to ship each student their own duckiebot and road tiles, building a simulator was another great option.
The Solution
Real world physics?
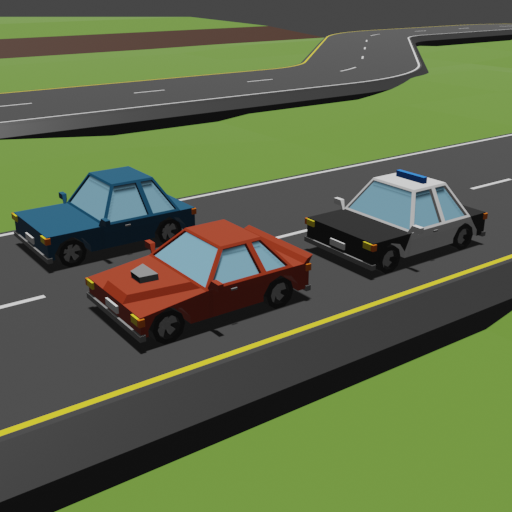
What better way to simulate a driving experience than by using a physics-based game engine? I turned to Unity. While AAA quality was certainly off the table (given the expidited 3-week go-live date), having some low-poly cars on a track was certainly possible. Unity's built-in physics the heavy lifting, as one might imagine. The built-in rigid body colliders, especially those made specificially for wheels, were finnicky but workable.
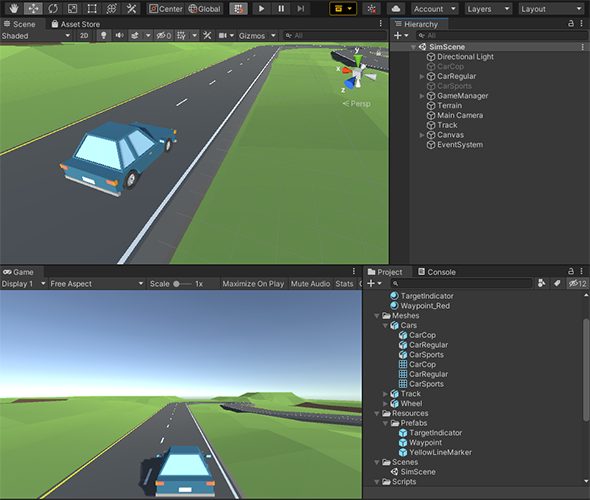
In the image below, you can see the Unity Editor view in the top left, as well as the "Game View" in the bottom left. The "Game View" uses a 3rd-person following camera, so the students could see how their car moved on the road. Not shown is the 3rd view - a camera positioned on the hood of the car. This camera was analogous to the camera on the front of the duckiebots, and is the camera used to control the car.
Controlling the Car
As was required for the course, the students were familiar with Python. This led to an interesting challenge - Since Unity can't directly interface with an external python script, how would the students write their controllers? The answer was temporary files. When the simulator was running, the "hood" camera on the car would capture images, and each frame, write the data out to a temporary file on the computer's disk. This data was read in by the Python wrapper class I wrote, and passed to the students' code akin to if they were using a duckiebot. This way, the students saw minimal interruption to the normal workflow. Below is a code snippet that loads data from the temporary file and passes it to the students' control code:
| def start_sync(control_func, car_id, selected_control_type): | |
| if car_id in existing_ids.keys(): | |
| print('Car ', car_id, 'already running! Not starting again.') | |
| return | |
| existing_ids[car_id] = True | |
| mmap_wrapper = MmapWrapper(car_id) | |
| print('Thread started:', car_id) | |
| while existing_ids[car_id]: | |
| mmap_wrapper.set_input_stream_position(0) | |
| # read one byte for control sequence | |
| control_type = int(mmap_wrapper.get_data(1)[0]) | |
| if control_type_list.index(selected_control_type) != control_type: | |
| print('Car id "{}" expected control type {}, recieved control type {}. Please adjust the simulator settings.'.format( | |
| car_id, selected_control_type, control_type_list[control_type])) | |
| time.sleep(incorrect_control_sleep_time) | |
| continue | |
| # first 2 doubles are elasped millis, speed | |
| elapsed_millis, speed = struct.unpack('dd', mmap_wrapper.get_data(16)) | |
| if control_type == 0: # GPS data | |
| # 3 doubles for car_x, car_y, car_theta | |
| car_x, car_y, car_theta = struct.unpack( | |
| 'ddd', mmap_wrapper.get_data(24)) | |
| # by default, theta is 0 at +Y and increases clockwise. we want 0 at +X and increase CCW | |
| car_theta = -(car_theta - 90) | |
| car_theta = np.deg2rad(car_theta % 360) | |
| output = control_func( | |
| elapsed_millis, speed, car_x, car_y, car_theta, xc_dense, yc_dense, xo_dense, yo_dense, lane_width) | |
| elif control_type == 1: # camera data | |
| frame_arr = mmap_wrapper.get_frame_data() | |
| frame_data = np.flipud(np.frombuffer( | |
| frame_arr, dtype=np.uint8).reshape((height, width, 4))) | |
| frame = cv2.cvtColor(frame_data, cv2.COLOR_RGBA2BGR) | |
| output = control_func(elapsed_millis, speed, frame) | |
| if(len(output) < 2): | |
| raise Exception( | |
| "Output array must have at least length 2, [throttle, steer]") | |
| targetSet = True # assume they gave us a target waypoint | |
| # pad with zeros until we get length of 4 doubles. | |
| while(len(output)) < 4: | |
| output.append(0) | |
| # if we have to pad, that means target wasn't set. | |
| targetSet = False | |
| mmap_wrapper.write(targetSet, output) | |
| # once this while loop is told to stop | |
| print('Stopping car:', car_id) | |
| mmap_wrapper.write(False, [0, 0, 0, 0]) | |
| existing_ids.pop(car_id) |
Most of the code here is to set up the link between the temporary file and Python, as well as some safety checks (to ensure we don't try to control the same car multiple times, making sure the correct data format is followed, etc). The simulator allows for 2 control systems:
- GPS: The students were provided with the car's current X/Y coordinates, as well as the X/Y coordinates of a list of waypoints that represented the lane divider marking
- IMG: Unity would provide the navigation camera's frames to Python, and the students would process the image and control the car accordingly.
On lines 26 and 33, there is a call to a control_func.
This is the piece of code the students would write, to return the desired throttle and steering of the car based
on the input information.
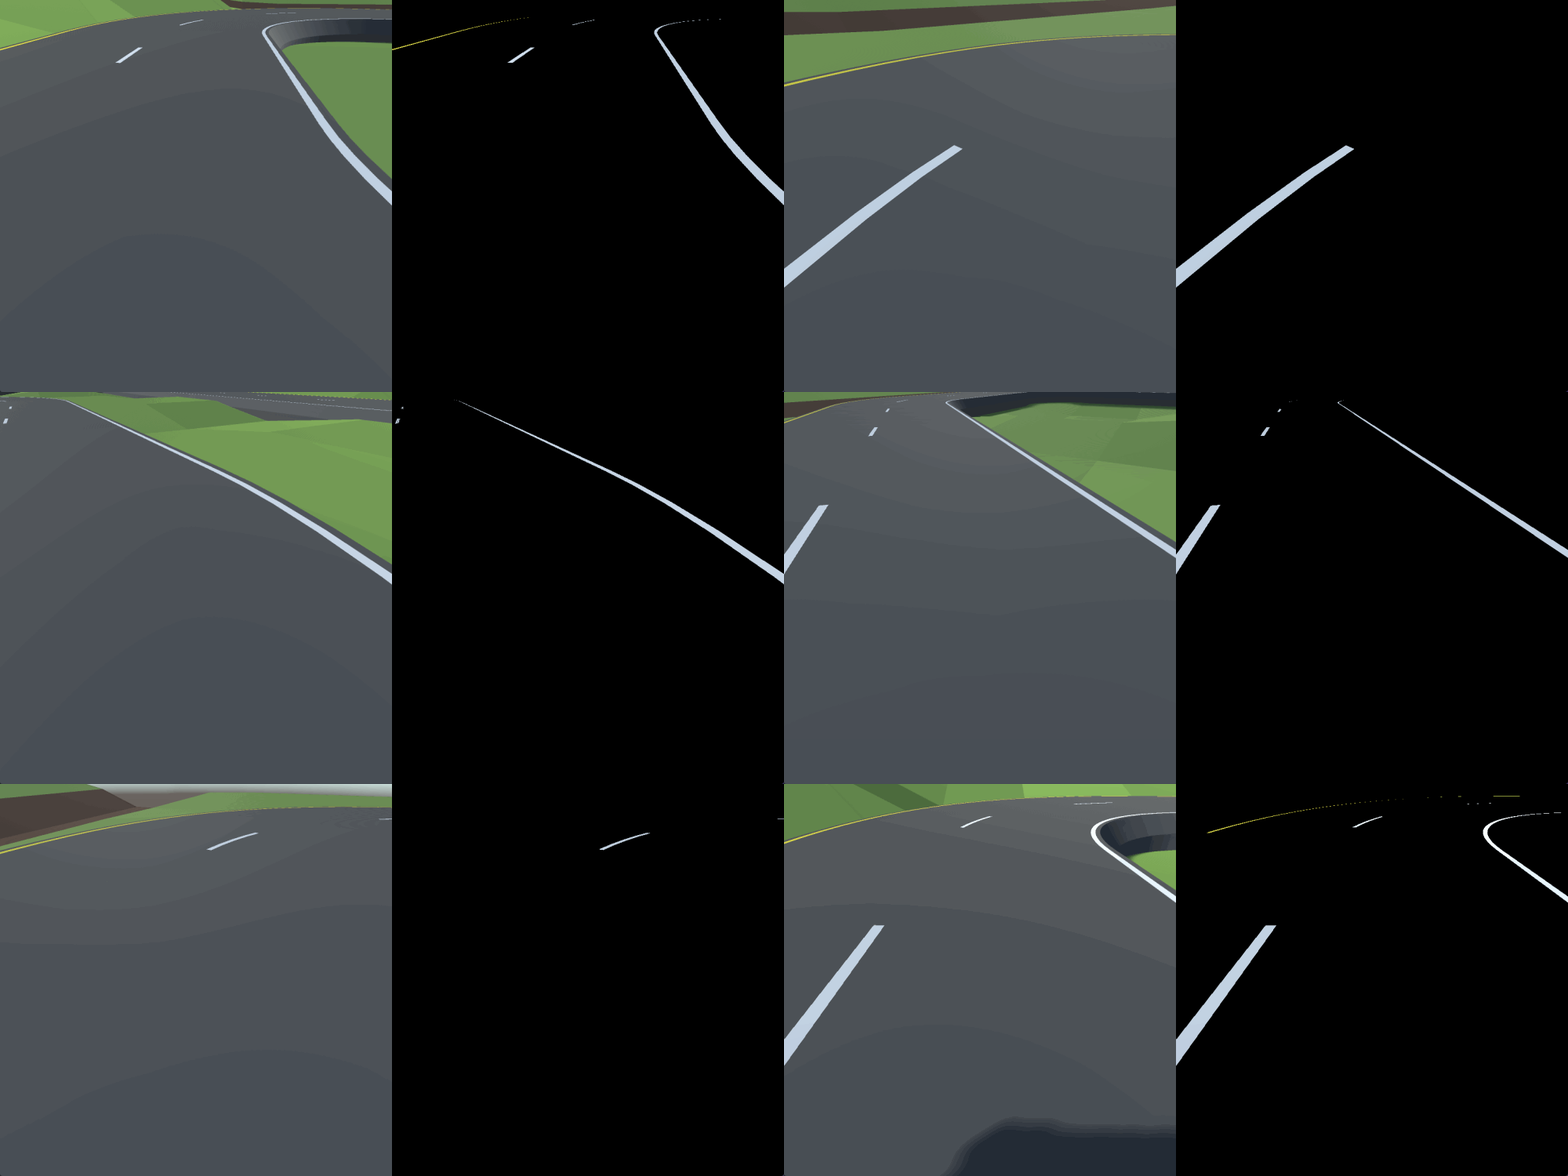
The video above demonstrates the navigation camera frame sent from Unity to Python (left) and the post-processed frame filtering for the lane lines using OpenCV in Python (right). In this clip, the car is being controlled manually with keyboard inputs. The students' assignment was to first process the raw frame on the left, to keep only the important information (lane lines), resulting in the image on the right. Next, they would process the filtered frame on the right to estimate the car's position in the lane, and steer it towards the center, while moving forwards.
Conclusions
Overall, the simulator was a great success. Students were able to perform the following autonomous driving routines:
- Lane Detection / following
- Lane change
- Vehicle Avoidance (detecting and avoiding a stopped vehicle ahead of them)
With a return to in-person learning, this project is closed for now. I would like to revisit it at some point and finish adding some of the features I have not yet gotten to, so keep an eye out for updates and a final version!